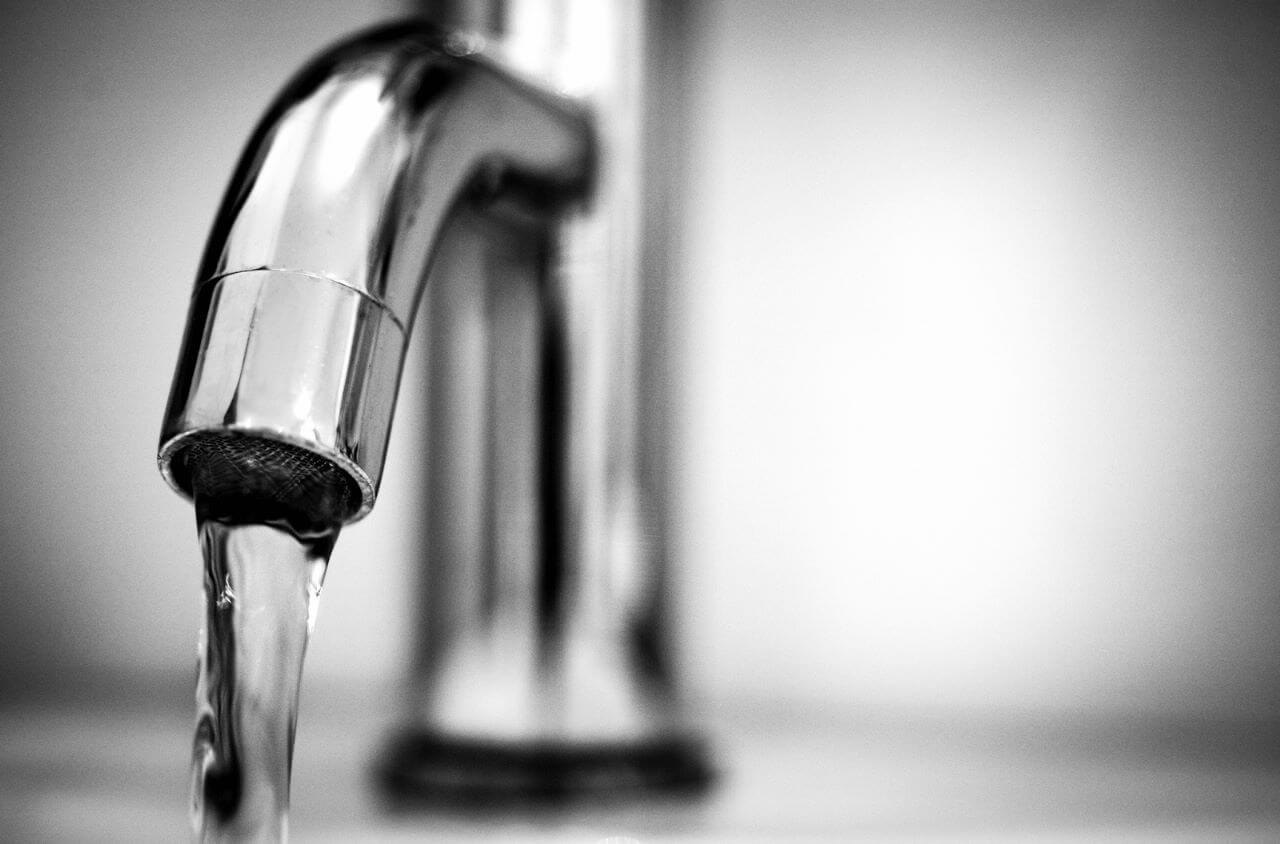
If you have noticed hard water stains on your kitchen and bathroom fixtures, or if your soap and shampoo are not lathering well, chances are you have hard water at home. Hard water is a common problem in many homes, and it can cause havoc in appliances, pipes, and plumbing fixtures. The good news is that you can solve this problem by investing in a water softener installation. This blog post will guide you step by step through installing a water softener to enjoy soft and clean water in your home.
1. Determine the type and size of the water softener.
The first step in installing a water softener is determining your desired type and size. Water softeners come in different sizes and types, including salt-based, salt-free, and dual-tank models. To determine the size of the water softener, you need to consider the hardness of your water, the number of people in your home, and daily water usage. A professional water softener dealer or plumber can help you select the right type and size of water softener for your home.
2. Install the water softener.
Once you have selected the water softener, the next step is to install it. If you are installing the water softener yourself, you should follow the manufacturer’s instructions carefully. In general, you need to connect the water softener to the water supply line, install a bypass valve, and connect the drain line to a drain. You should also install the water softener in a well-ventilated area, away from direct sunlight, and with enough space for maintenance and cleaning.
3. Connect the water softener to your plumbing system.
After installing the water softener, connect it to your plumbing system. You will need to reroute your water supply line so that it enters the water softener first before going to the rest of the plumbing system. You can do this by cutting the existing copper or PVC pipe and connecting it to the water softener with a flexible connector. You should also install a backflow preventer and pressure regulator to protect your plumbing system.
4. Test and regenerate the water softener.
Once you have installed and connected the water softener, you need to test it to ensure it works properly. You can do this by running several gallons of water through the system and checking for softness and clarity. You should also program the water softener to regenerate according to the manufacturer’s instructions. This involves adding salt or another regenerating agent to the brine tank and flushing it through the system to remove the hardness particles.
5. Maintain and clean the water softener.
To ensure that your water softener lasts for a long time and performs optimally, you should schedule regular maintenance and cleaning. This includes checking the salt level in the brine tank, inspecting the resin beads, cleaning the control valve, and servicing the motor or pump. You should also clean and flush the system regularly to remove any buildup or sediment.
Installing a water softener in your home is a smart investment that can save you money, improve your water quality, and extend the life of your plumbing fixtures and appliances. By following the steps in this guide, you can install a water softener yourself or with the help of a professional plumber. With a water softener, you can enjoy soft and clean water for years! Get professional consultations and estimates now!